Project Import
Often you will have an existing project which you would like to edit using Skipper. Skipper fully supports importing code in such cases. Your current ORM definitions can be imported to a new project or added to existing one. In this article, we will describe how to do that.
Import new project
The most common scenario is to create a new project from existing schema files. To do that choose Create or Import New from the main application menu.
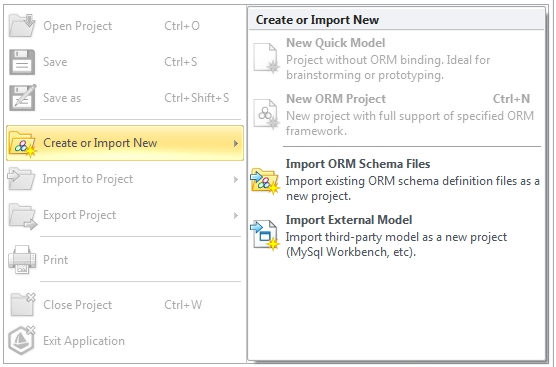
Skipper currently supports importing from following sources:
Import ORM schema files (supports Doctrine, Doctrine2 and Propel ORM frameworks).
Import external models (currently MySQL Workbench and DBDesigner4 is supported).
Import to existing project
Second scenario is attaching or importing schema files to existing project. This usually happens when you want to extend existing project by shared plugin or module. In such situations use Import to Project function to extend your project by new schema files.
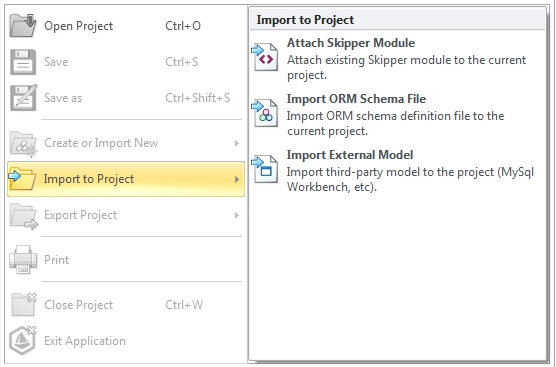
Currently there are three ways how to extend existing project:
Attaching Skipper module to current project (more about Shared modules concept).
Importing ORM definition file (or multiple files or directory) to current project.
Importing third-party model file (MySQL Workbench and DBDesigner4 are supported).
No matter if you're attaching existing Skipper module files or importing external ORM definition/third-party model files, Skipper adds new module elements into project.
Note: In situations when imported module (or other model elements, e.g. entity) have the same names as an existing object, these objects will be merged.
Import project example
With the next few steps we're going to show you how simple and fast it could be to visualize your existing projects in Skipper. For this example we chose Doctrine2 open-source project CMS Newscoop. Specific steps may vary depending on the ORM framework you're using. For more details how to import project in your framework check Frameworks tutorials.
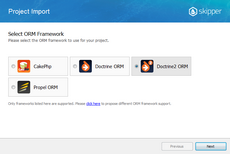
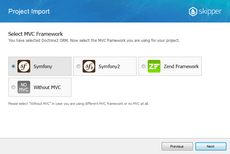
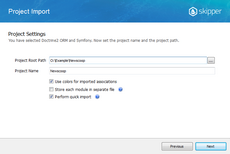
All steps illustrated above are very simple. They consist of choosing ORM and MVC framework your project uses, entering your project path and name of Skipper project.
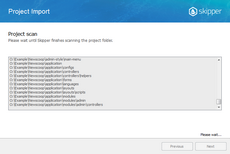
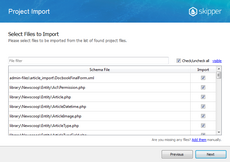
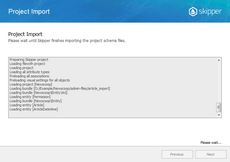
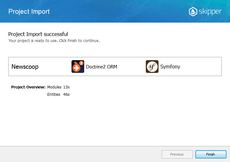
Next step is an automatic scan of your project and locating all files with schema definitions. Then you can choose files you want to import or import all of them. After a short delay, you will see import result and your complete project in visual representation.
Skipper visual representation uses standard notation of the extended ER diagram and you can see an example on the following image.
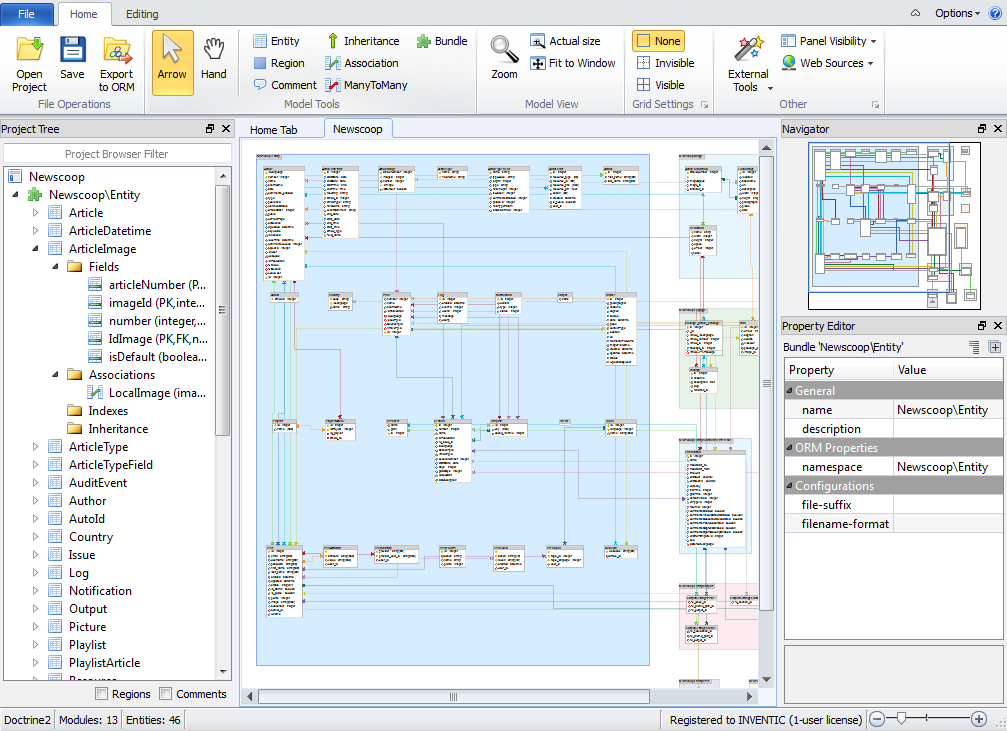
Imported model is automatically positioned and centered. It's a good starting point to enhance and arrange your model in a more elegant and organized way.
Note: Check also Project export tutorial which shows how to export ORM schema definition files.