Import Doctrine2 Project
This short tutorial demonstrates that in Skipper import of existing Doctrine2 project and the following model editing is simple and intuitive.
Hint: See the ORM Model basics for detailed description of ORM elements (e.g. bundle, entity).
Import project
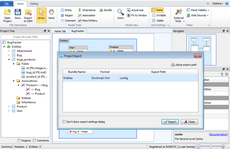
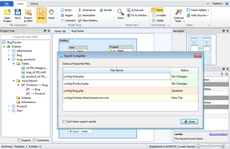
First, import sample Doctrine ORM project Bug Tracker or some of your existing projects. To do this select Import ORM Schema Files from File menu and follow the steps shown in the pictures below.
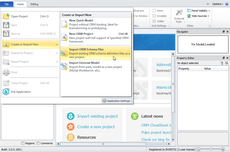
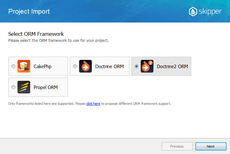
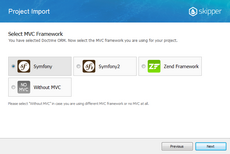
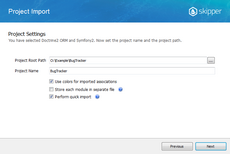
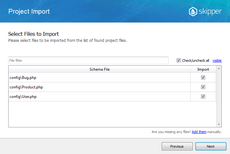
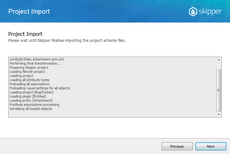
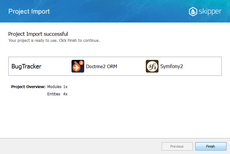
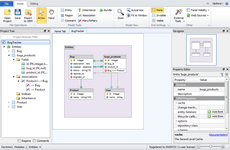
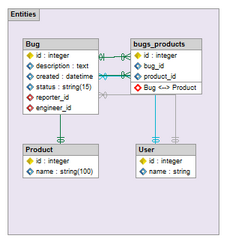
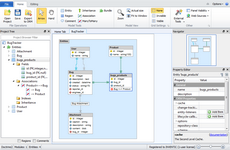
The last screen visually represents Bug Tracker project imported to Skipper and arranged automatically by import algorithm. It is a good starting point to work with your model.
Arrange visual model
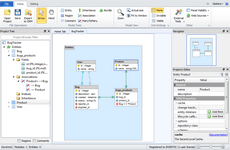
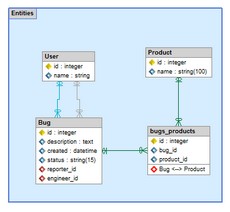
Although imported model is automatically arranged it is a good idea to reposition entities inside the bundles to exactly fit the model logic. Also, you can change colors of bundles according to your preferences.
Extend project model
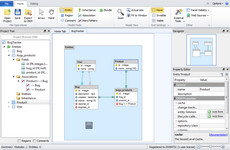
Now that you have a nice visual model we are going to show you how to extend Bug Tracker model to store attachments for Bug reports. We add Attachment entity, configure new fields and create association between Bug and Attachment entity.
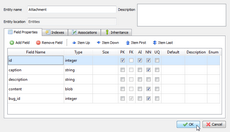
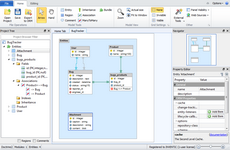
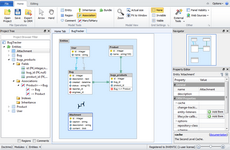
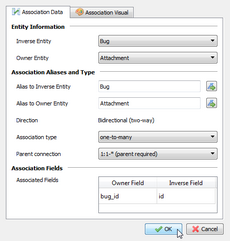
Export model
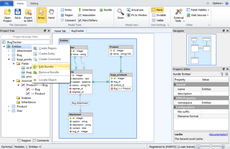
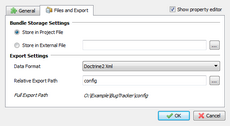
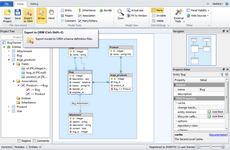
Now with updated model it is time to export model back to Doctrine2 schema definition files. Because model is imported from the existing schema files, export is automatically configured to export the data back to these files. Before the first export check that export locations and formats are correct.
Skipper exports single schema file for each Doctrine2 entity. This means that our project will export five schema definition files, one for each entity in the model. Each bundle can have its own export format and path which is relative to project root directory. For Doctrine2 ORM it is XML, YML and annotations.
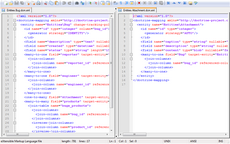
And here is an example of the new Attachment entity. As you can see, everything is well formatted and exported in Doctrine2 XML format.
<?xml version="1.0"?>
<doctrine-mapping xmlns="http://doctrine-project.org/schemas/orm/doctrine-mapping" xsi="http://www.w3.org/2001/XMLSchema-instance" schemaLocation="http://doctrine-project.org/schemas/orm/doctrine-mapping.xsd">
  <entity name="Entities\Attachment">
    <id name="id" type="integer">
      <generator strategy="AUTO"/>
    </id>
    <field name="caption" type="string" nullable="false"/>
    <field name="description" type="string" nullable="true"/>
    <field name="content" type="blob" nullable="false"/>
    <many-to-one field="Bug" target-entity="Entities\Bug" inversed-by="Attachment">
      <join-columns>
        <join-column name="bug_id" referenced-column-name="bug_id" nullable="false"/>
      </join-columns>
    </many-to-one>
  </entity>
</doctrine-mapping>
Skipper can export schema definitions to all supported Doctrine2 export formats - XML, YML or annotations. When you select annotations format export will look like this:
<?php
namespace Entities;
use Doctrine\ORM\Mapping AS ORM;

/**
 * @ORM\Entity
 */
class Attachment
{
    /**
     * @ORM\Id
     * @ORM\Column(type="integer")
     * @ORM\GeneratedValue(strategy="AUTO")
     */
    private $id;

    /**
     * @ORM\Column(type="string", nullable=false)
     */
    private $caption;

    /**
     * @ORM\Column(type="string", nullable=true)
     */
    private $description;

    /**
     * @ORM\Column(type="blob", nullable=false)
     */
    private $content;

    /**
     * @ORM\ManyToOne(targetEntity="Entities\Bug", inversedBy="Attachment")
     * @ORM\JoinColumn(name="bug_id", referencedColumnName="bug_id", nullable=false)
     */
    private $Bug;
}
Next time you will need to make further changes or adjust the model, just open Skipper file and edit your project entities. Then again export the project to ORM.
Conclusion
As you can see above, import, editing and export to schema definition files is a five minute work with Skipper (ten if you are doing it for the first time). Now compare it with the effort of doing such task manually. As you have just discovered Skipper dramatically saves your time and helps you to work with schema definitions in much more enjoyable way.


