New Propel Project
This tutorial shows how simple it is to start a new project using Skipper. We are going to create Propel ORM project with two packages and four entities. Export of the created project to Propel .xml schema definition files is also part of this tutorial.
Hint: See the ORM Model basics for detailed desription of ORM elements (e.g. package, entity).
New project
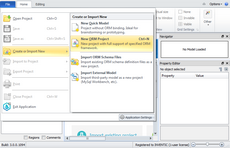
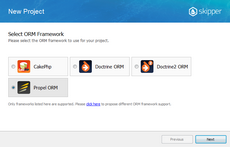
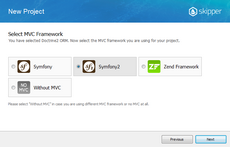
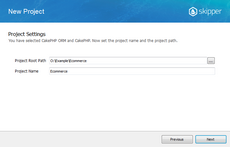
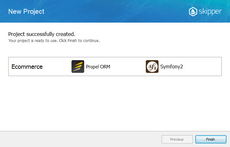
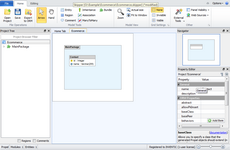
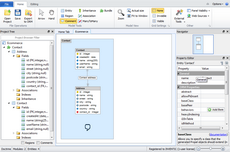
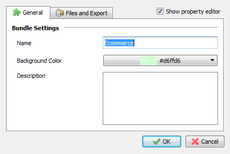
First step is to create a new project with Propel ORM framework support. Simply select the New ORM Project from File menu and follow the steps shown in the pictures below.
Application model design
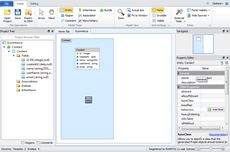
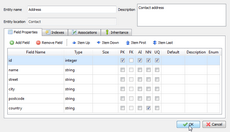
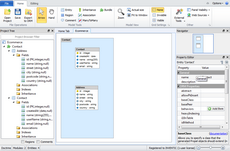
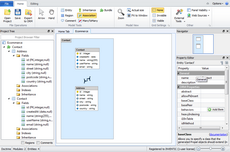
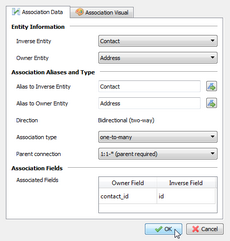
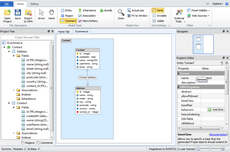
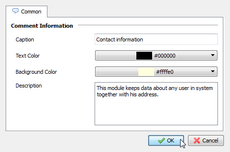
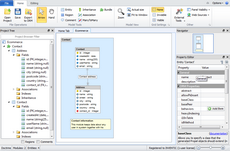
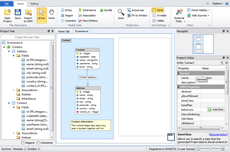
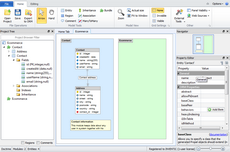
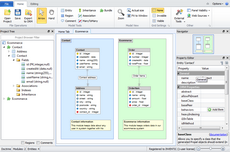
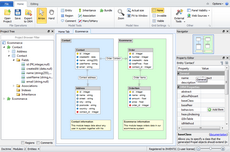
Now we are going to design a simple application with two packagees and four entities. The first packagele will serve as contact records, the second package as ecommerce logic. Contact package stores data about customers and their addresses, ecommerce package stores data about orders and their items. Ecommerce order also has a relation with contact to store order owner. You can do it this way:
 </a>
</a>
Export model
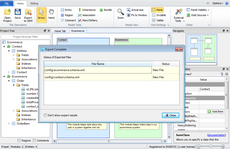
Now that you have created the application model, next step is to export it to Propel schema definition files. Before Skipper generates all files for you, it is necessary to configure schema file destinations and export formats.
In Skipper each package represents single exportable element. This means that now we are able to export two schema definition files, one for Contacts and one for Ecommerce package. Each package can have its own export path, which is relative to project root directory and its own export format. For Propel ORM it is XML and YML.
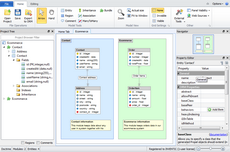
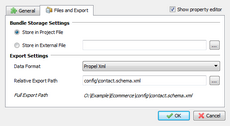
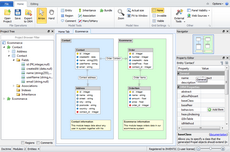
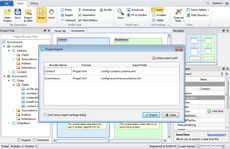
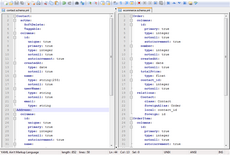
And here is an example of the Address entity. As you can see everything is well formatted and exported to Propel XML format.
<database name="Contact">
  <table_ name="Address" description="Contact address">
    <column name="id" type="integer" required="true" autoIncrement="true" primaryKey="true"/>
    <column name="name" type="string"/>
    <column name="street" type="string"/>
    <column name="city" type="string"/>
    <column name="postcode" type="string"/>
    <column name="country" type="string" required="true"/>
    <column name="contact_id" type="integer" required="true"/>
    <unique name="IX_UQ_Address_id">
      <unique-column name="id"/>
    </unique>
    <foreign-key foreignTable="Contact">
      <reference foreign="id" local="contact_id"/>
    </foreign-key>
  </table_>
  ...
</database>
Note: Because of HTML formating problem we used table_ tag instead of table.
Conclusion
This short tutorial shows that to create new project and export it to schema definition files takes no more than five minutes in Skipper (if it is your first try, it may take little longer). Compare it with manual writing of such small project, and the acceleration of work is breathtaking. And in addition, you can concentrate only on the creative part of your work.


